|
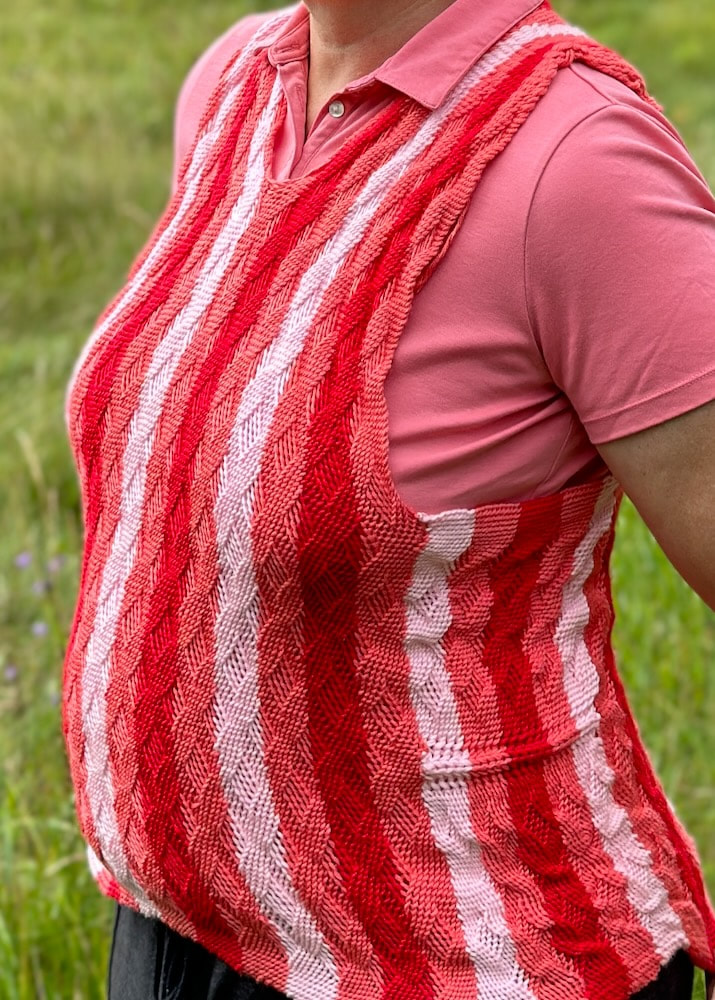
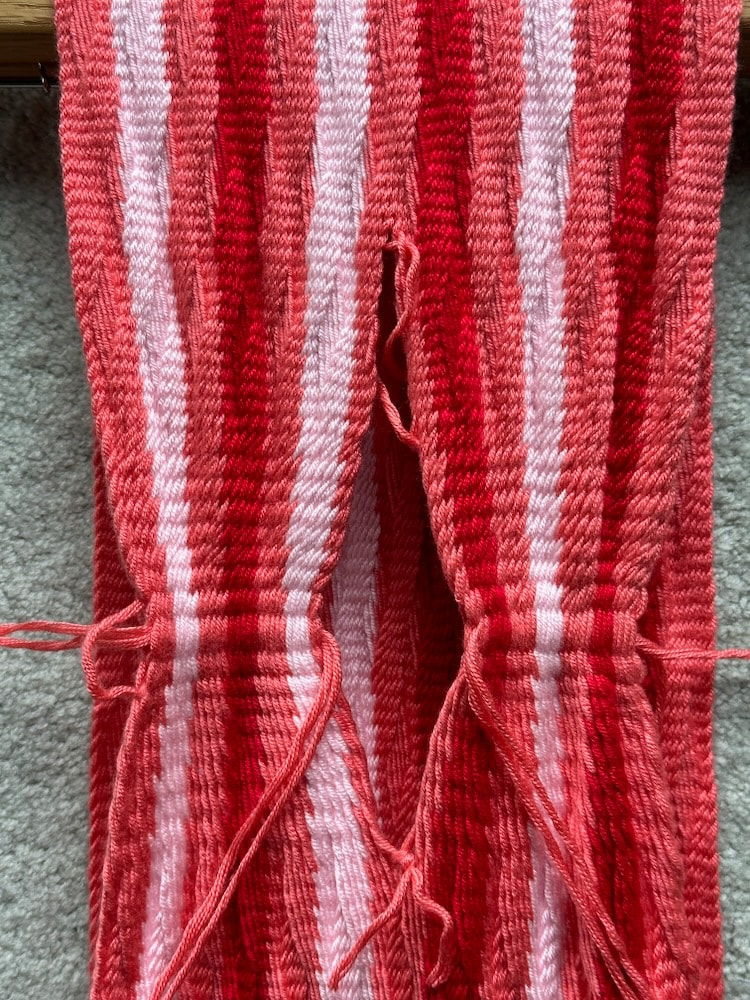
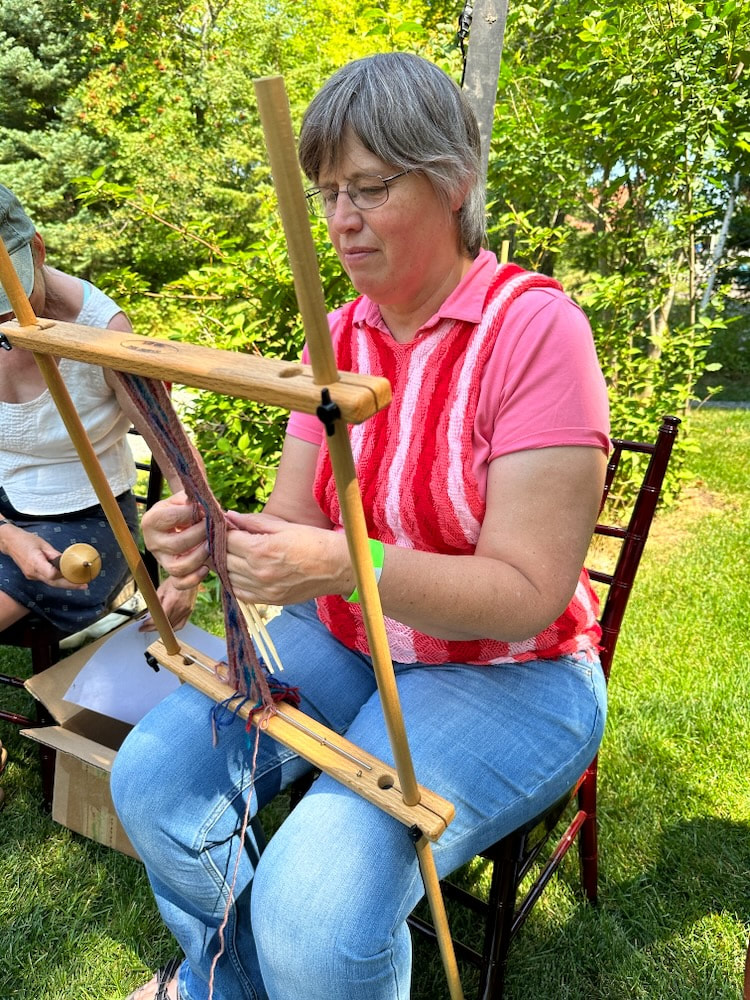
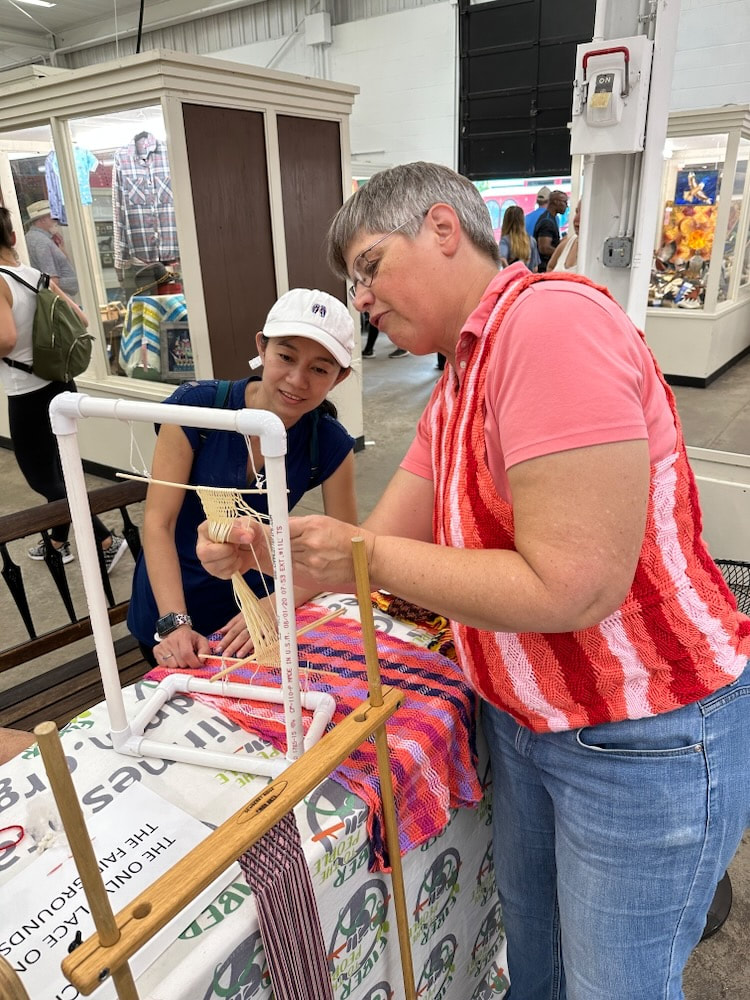
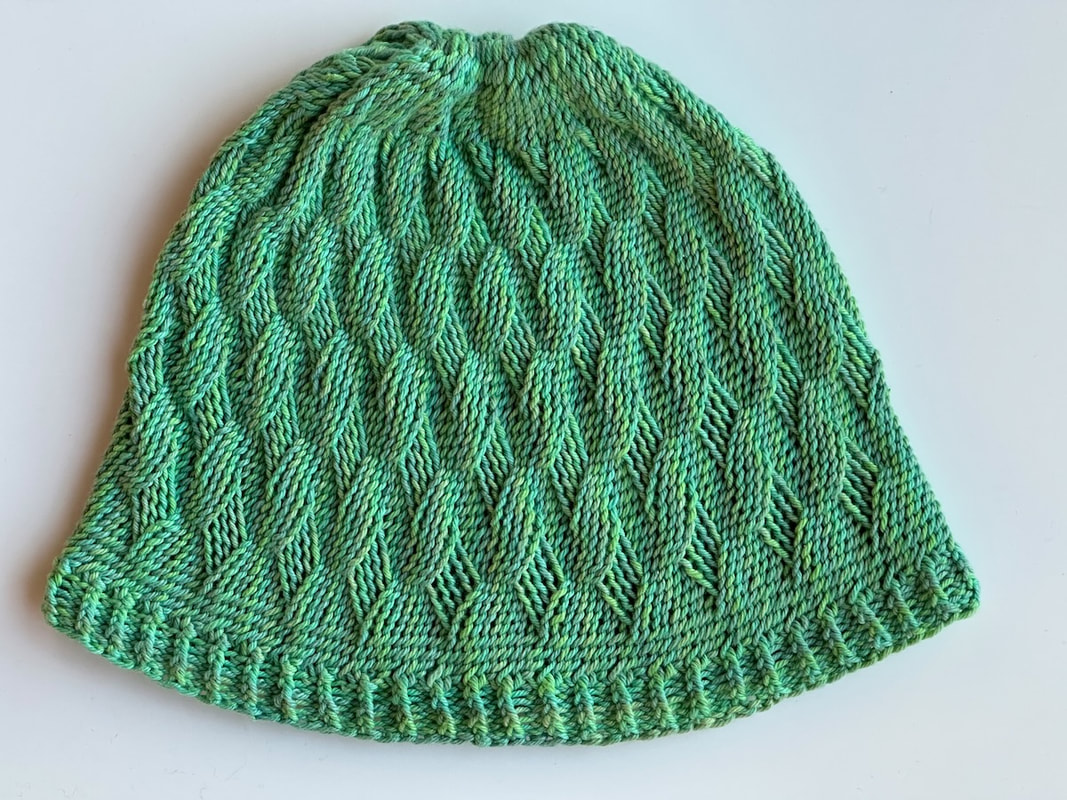
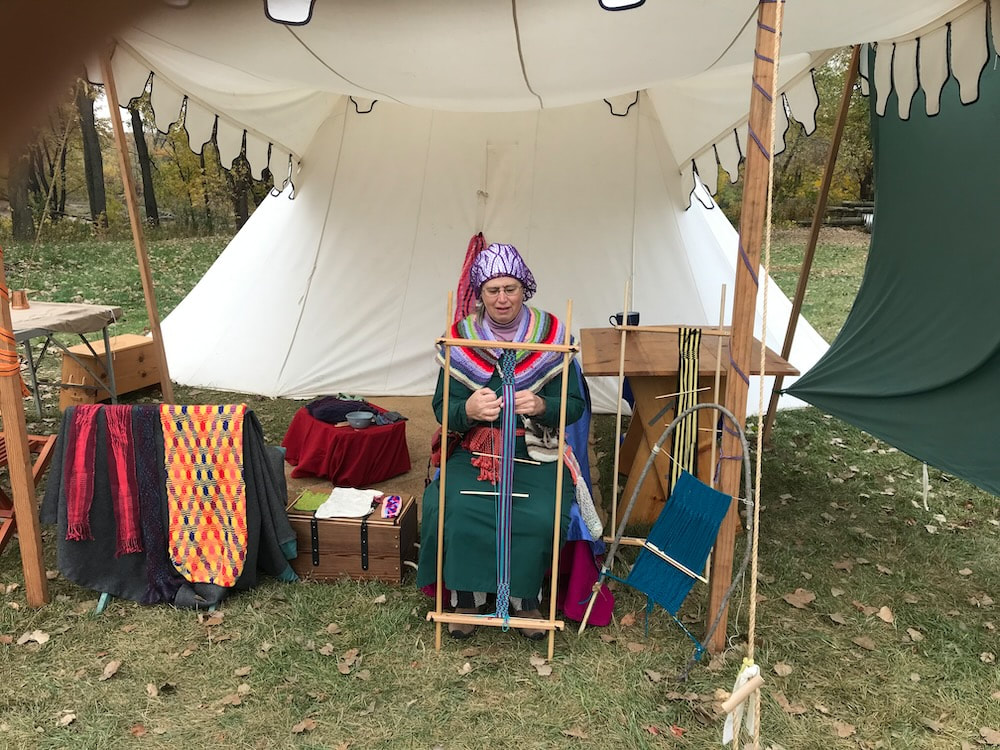
For years I have been admiring Carol James' sprang shirts but was intimidated by the hassle of attaching sleeves and a collar. But last summer, when I had the opportunity to demonstrate sprang at the Minnesota State Fair with the Duluth Fiber Guild, I knew I needed to wear something made of sprang. Hats and scarves were too warm for summer wear, so I opted for a simplified vest based on Carol's shirts.
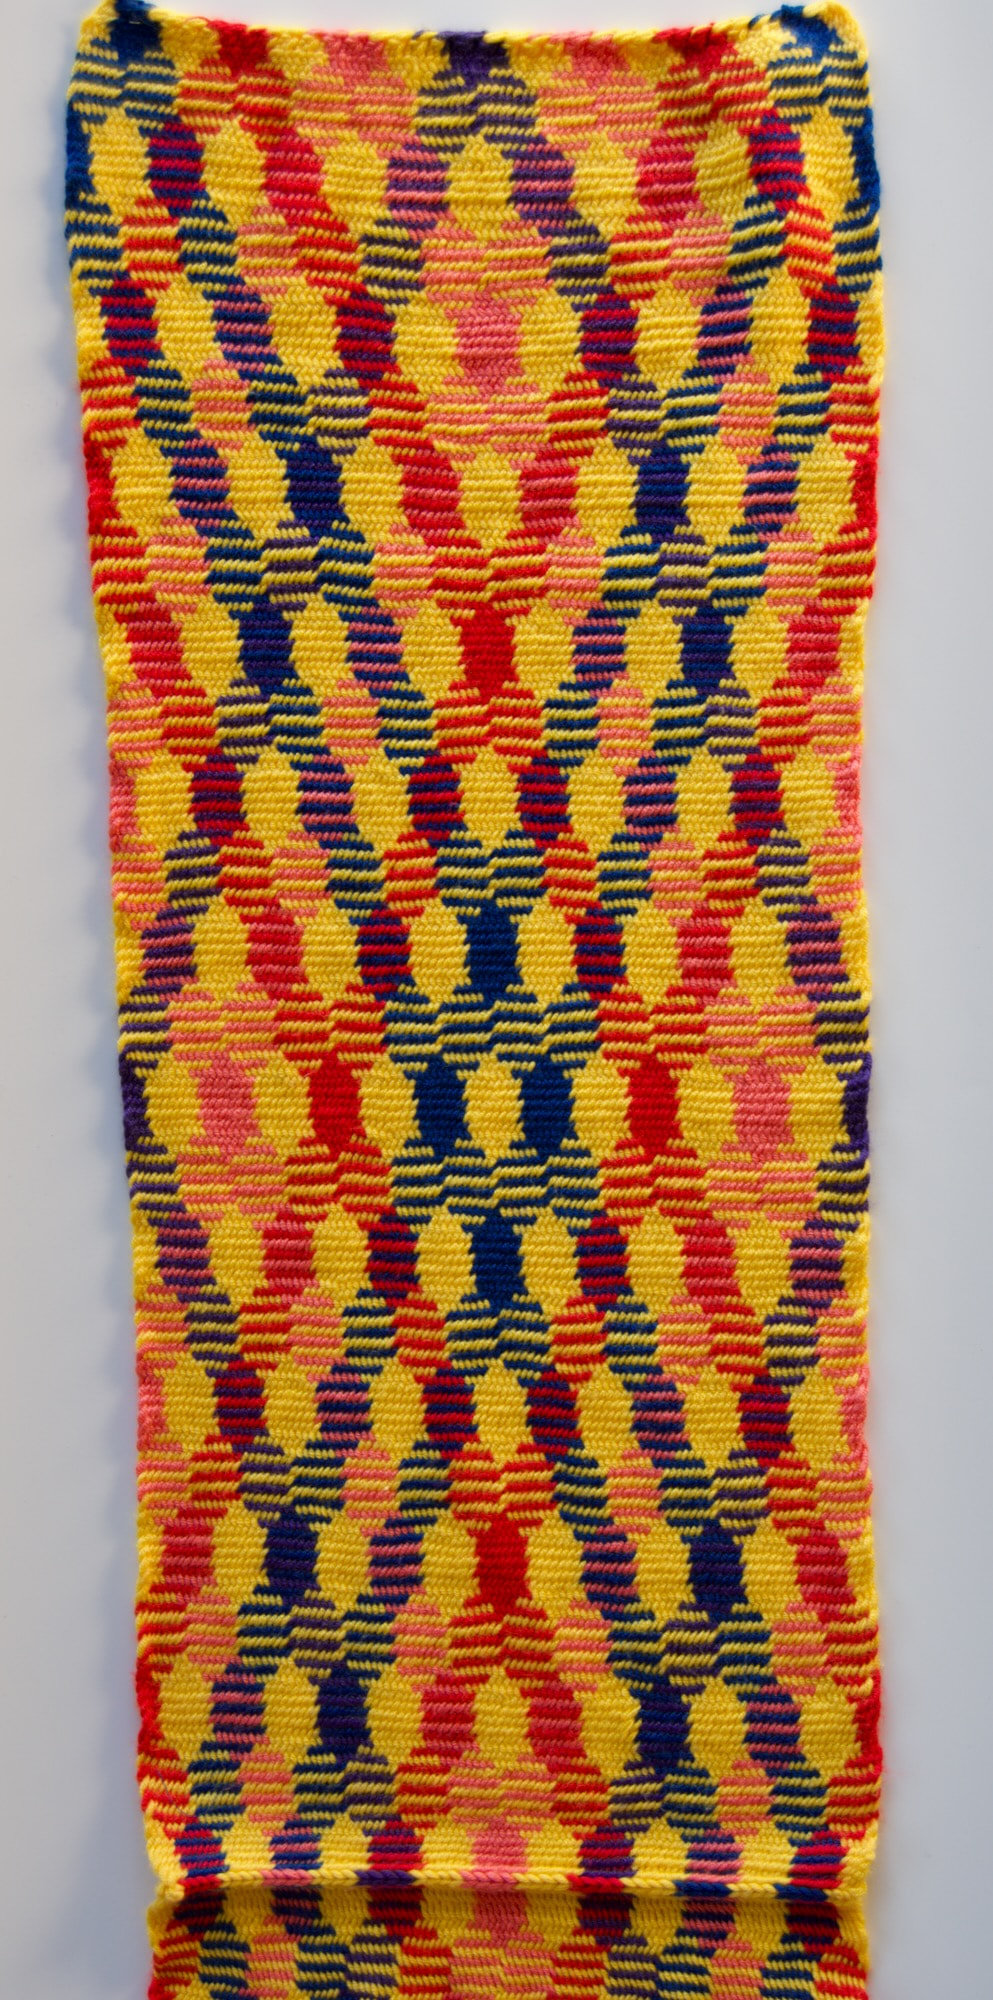
Pattern and YarnThe pattern is a grid of diamonds formed by changing the direction of stitch slant from Z to S (check out the S&Z Gallery for more designs in this technique). I developed this motif for Carol James' 2023 SprangAlong. It's one of my favorite designs because it adds a patterned texture with a simple repeat. The motif repeats every 10 stitches, and each colored stripe in the vest is the same width of 10 loops.
The yarn is a discontinued Lion Brand Micro Spun sport weight that I received in a yarn exchange with a friend (we each had yarn that we couldn't use that the other wanted, so we sent our "rejects" halfway across the country and are both enjoying the addition to our stashes). It's an extremely soft microfiber yarn with six loosely plied strands; not at all the tightly-spun yarn that is often recommended for sprang but it works very well to create a soft interlinked cloth.
0 Comments
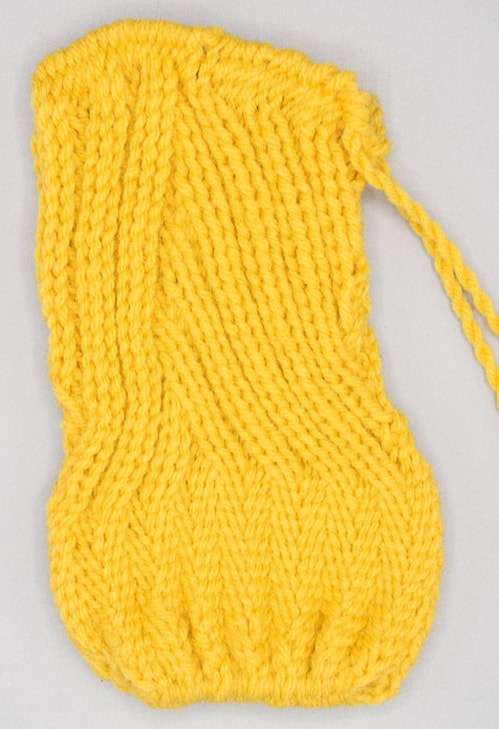
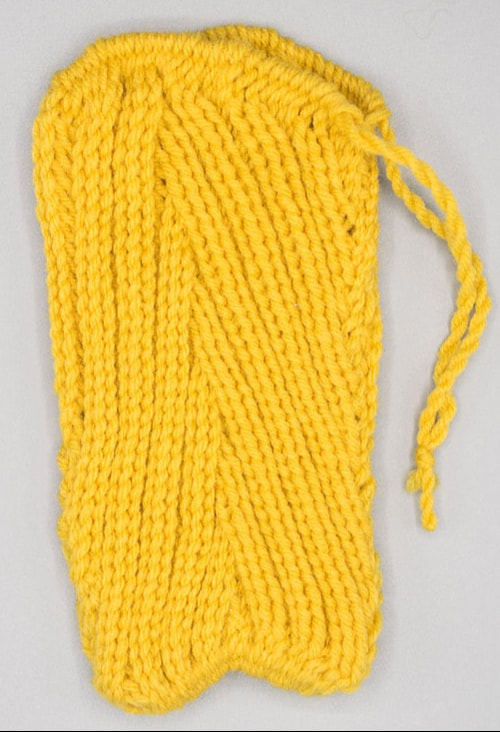
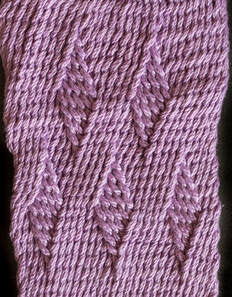
Sprang designs can be full of surprises. Sometimes it’s because the rules of sprang create unexpected textures. Other times it’s because we're learning and making mistakes. But not all mistakes are failures; sometimes mistakes result in fun new patterns. Here are three projects that were initially deemed failures but turned into interesting new designs.
These are just three of many examples of new patterns emerging from what I initially deemed mistakes and failures. When viewed with a new perspective, mistakes can inspire new designs. *The pattern for this chevron does look symmetrical. One of the oddities of S and Z motifs is that the cloth doesn't match the pattern. So symmetrical S&Z patterns do not always result in symmetrical motifs in the cloth.
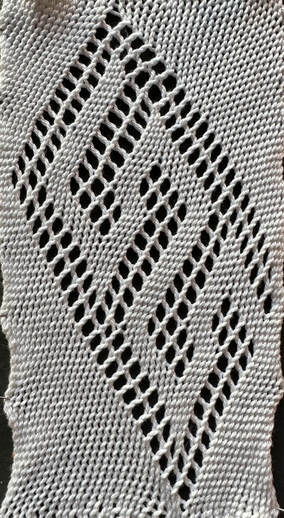
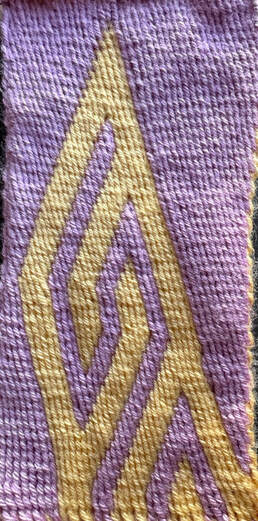
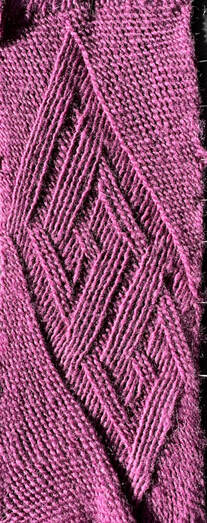
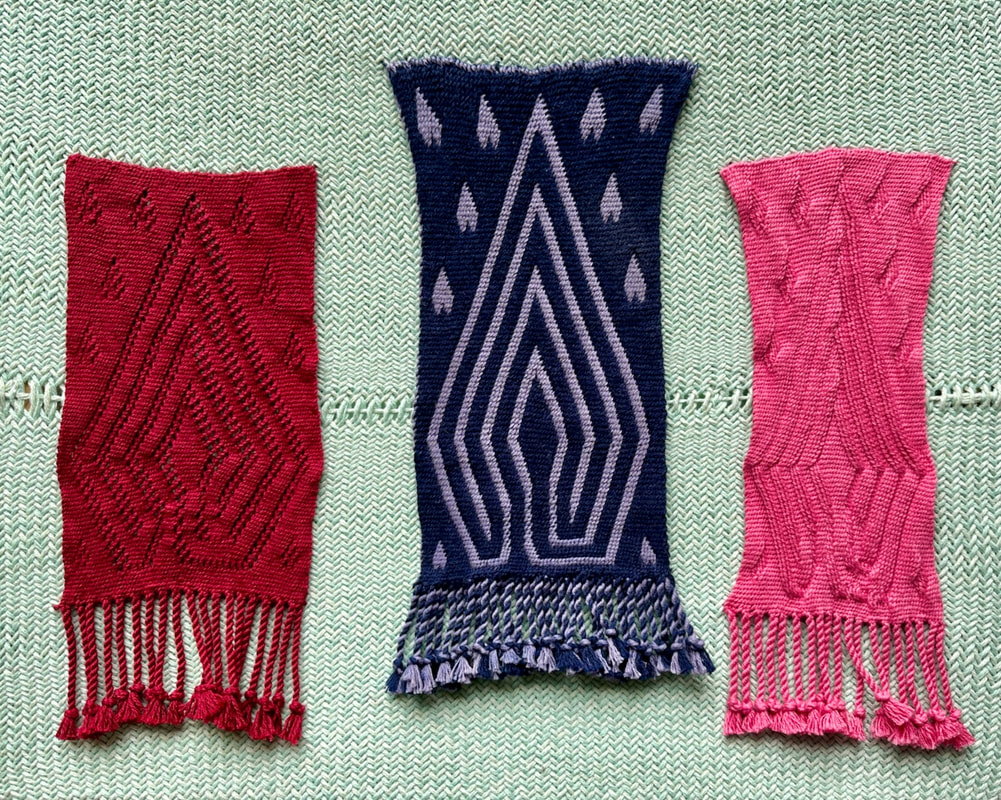
It’s all about the transition stitches. When we switch from S to Z stitches we work transition stitches on either two back threads or two front threads. When that transition occurs along a diagonal line in subsequent rows, one side of the cloth is higher and the other side is lower. In the final cloth, this 3D texture often overwhelms the direction of the stitches, so one sees this pattern of diagonals rather than the diamonds with a different lean. So any time we work diamonds, or any diagonals of this sort, in S&Z we will create textured cloth. This is one of places Carol James talks about, where sprang logic deviates from what we expect. (There IS a logical explanation to this, but when I tried putting it into words the complexity overwhelmed me. Maybe I’ll try again in a later post.) Here’s another example. I love this pattern from Carol’s James’ Sprang Lace Patterns and decided to try it as double cloth and in S&Z. The yellow in the double cloth clearly follows the lace, at least until I reached the middle and couldn't complete the last third of the design. But what happens in the S&Z? The areas that were lace have been replaced by opposite-leaning stitches but the winding pathway is almost invisible. Our eyes focus on the texture differences caused by the transitions between S and Z and we have to concentrate mightily to follow the path defined by the lean of the stitches. When going one direction that path forms a valley, and in another direction it forms a ridge. My brain has a hard time accepting that the ridge is a continuation of the valley. What makes this even MORE confusing is that sometimes our eyes shift so that what once appeared as low areas now look like high areas. This has been happening to me as I look at this S&Z image. At first glance it looks like a mess of diagonal lines with not much of a pattern. Then my brain shifts and the stitch directions dominate and OF COURSE it’s the same as the other patterns. Then, when I least expect it, the pattern goes back to its original mess. So maybe you're seeing first what I saw second. Maybe the pattern in S&Z does look like the other patterns and you have no idea what I'm talking about. That's OK, just more proof that we don't always see the same things when we look at the same picture. Such is life... One last example. I developed a pattern for a labyrinth in lace, double cloth, and S&Z. The three examples are shown together here. In the lace and double cloth it’s easy to follow the path, but in S&Z it takes great concentration to find the path as our eyes want to connect valley to valley and ridge to ridge.
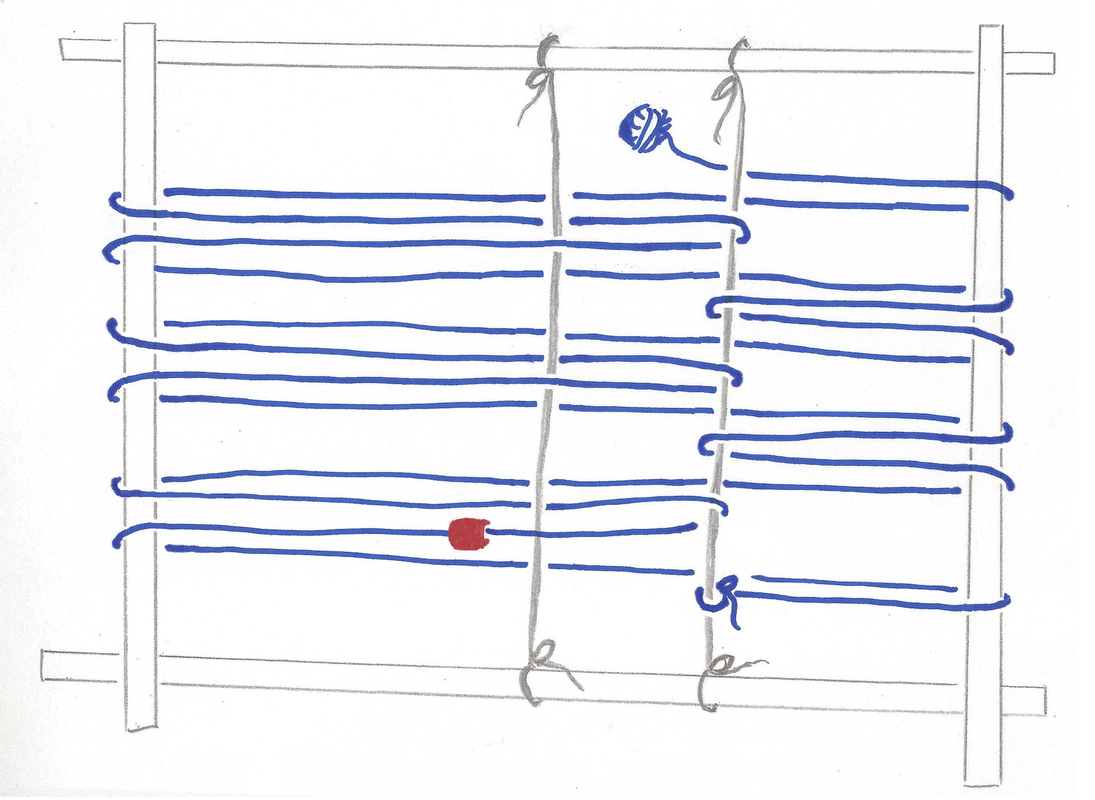
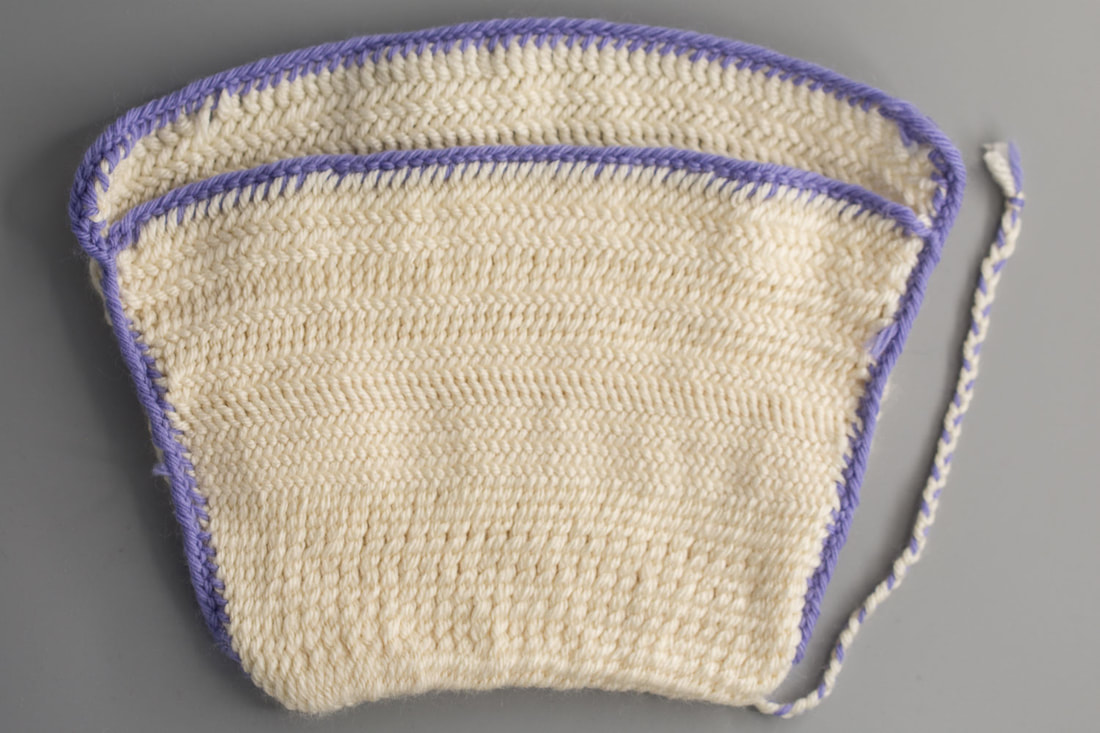
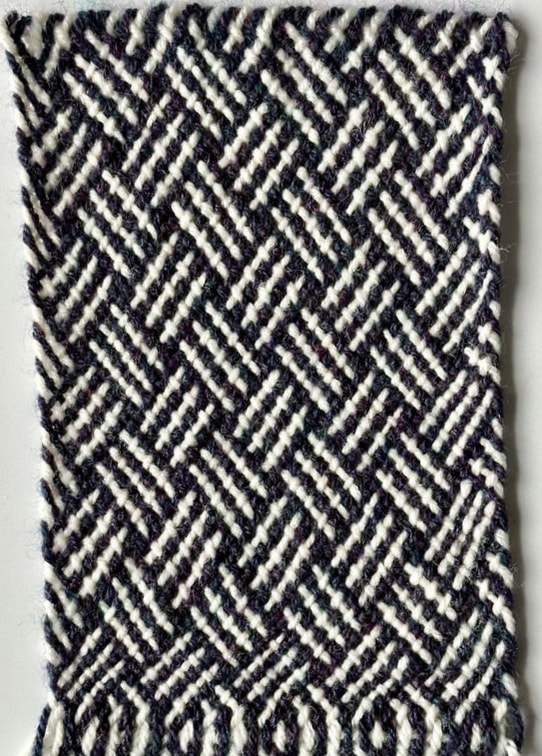
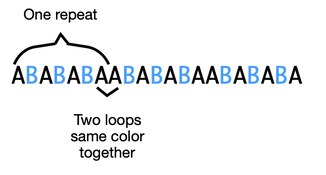
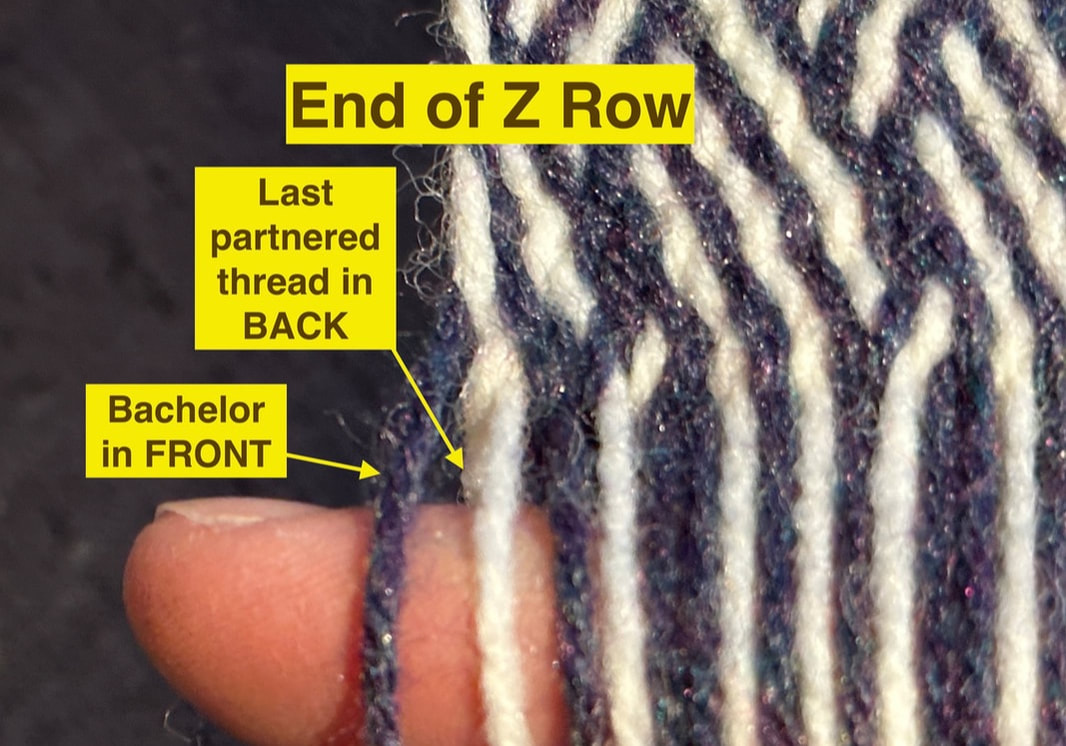
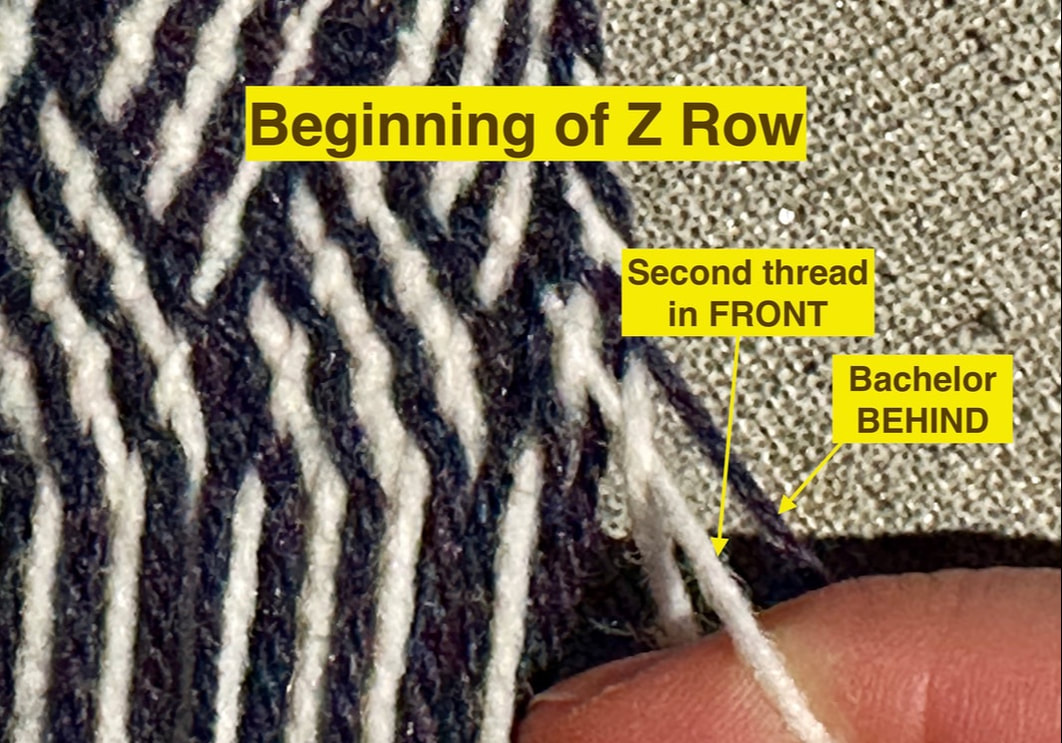
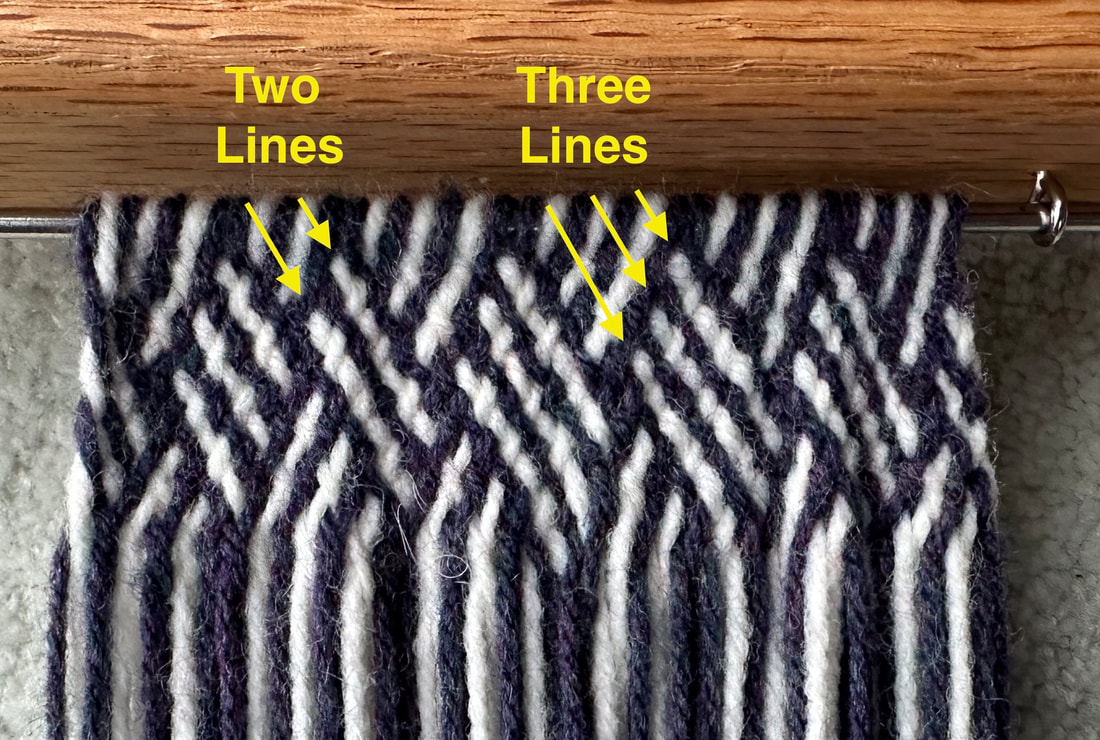
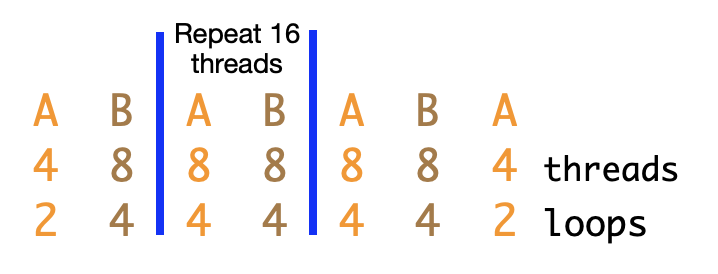
The basic pattern for two contrasting colors A and B is meaning one loop (two threads) of A, one loop of B, and so forth. Repeating this pattern three times gives a warp of 21 loops with the sequence: The key to this pattern is the repeat of two loops of A that break up the straight alternating ABAB sequence. Once the frame is set up, the next step is to work consistent 1-1 interlacing. I started with treating the first row as a normal plait row but found that I exchanged the two edge threads, messed up the careful arrangement, and didn’t get the desired pattern. In order to keep the threads in order I came up with the following sequence: Instead of picking up both threads at the beginning of the first Z row I place the first thread as a back thread and pick up the second. Carol James calls this first thread a bachelor as it doesn’t have a partner this row. This starts the row with each thread going under a single thread. At the end of the row I put down the first of the two threads and pick up the edge thread (a second bachelor). This sets me up for working the next row in S as an overplait row. Keep repeating these two rows, one in Z and the next in S and watch the pattern grow. The only challenge now is keeping an eye on the crossings and making sure that no threads jump out of place. When looking at the evolving pattern, look for sets of 3 lines in color B. In a previous attempt at this pattern I noticed that one of the sections didn't look like the others. On closer examination I saw that one section had only two white lines where the others had three. After determining this was a warping error I undid the entire sequence and started again with the correct warping. Glad I caught it early and not after another 20 or 30 rows! Happy spranging, and let me know how this works for you.
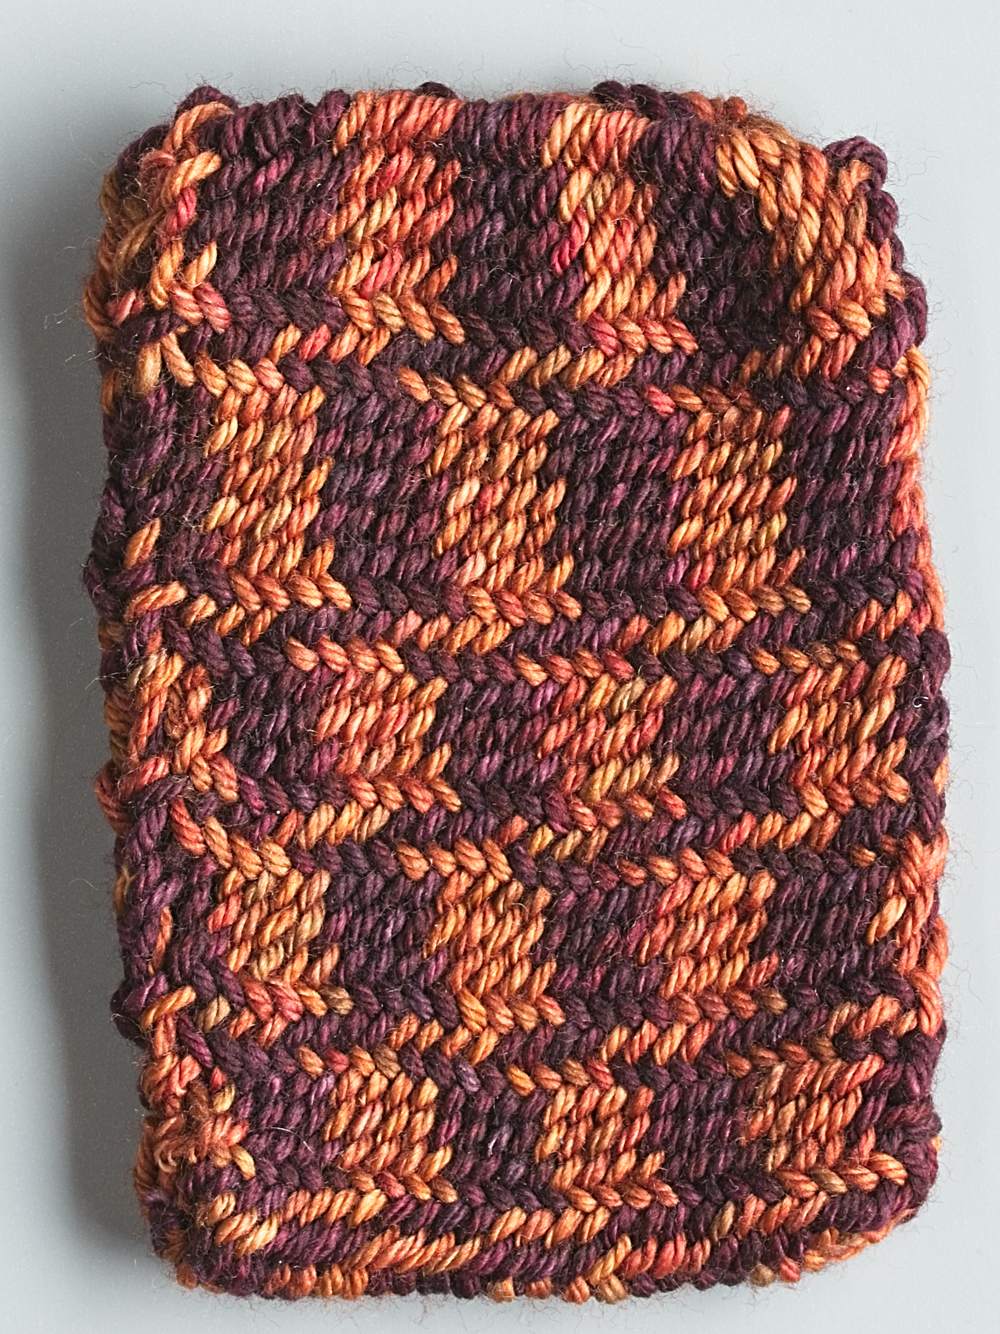
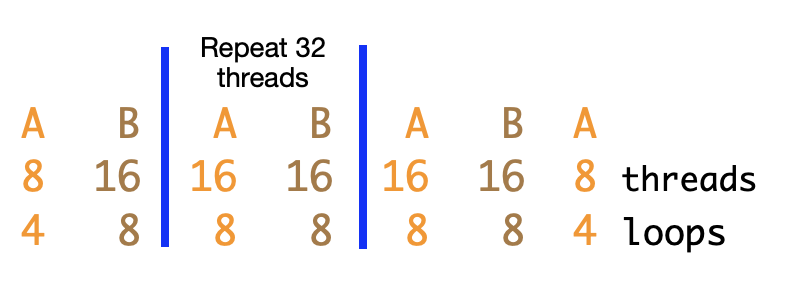
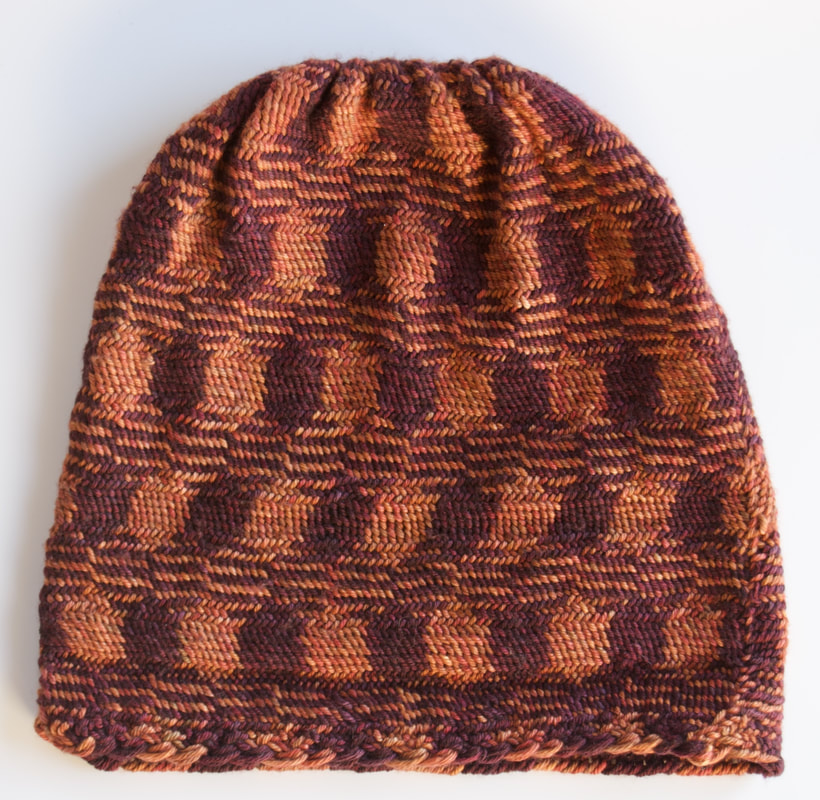
Interrupted twill is formed when rows of interlacing are alternated with rows of interlinking. January’s Motif B in Carol James’ 2023 SprangAlong has four rows of interlinking followed by four rows of interlacing. When threads of two or more colors are used with this motif, new patterns emerge as the yarn moves diagonally. Below I share some possible color patterns for this interrupted twill motif. These patterns emerge from the initial placement of the warp threads.
*Note on threads and loops: when winding threads on for a flat-warp sprang project, each thread is looped over the top of the frame and then returns to the bottom. This one loop contains two threads.
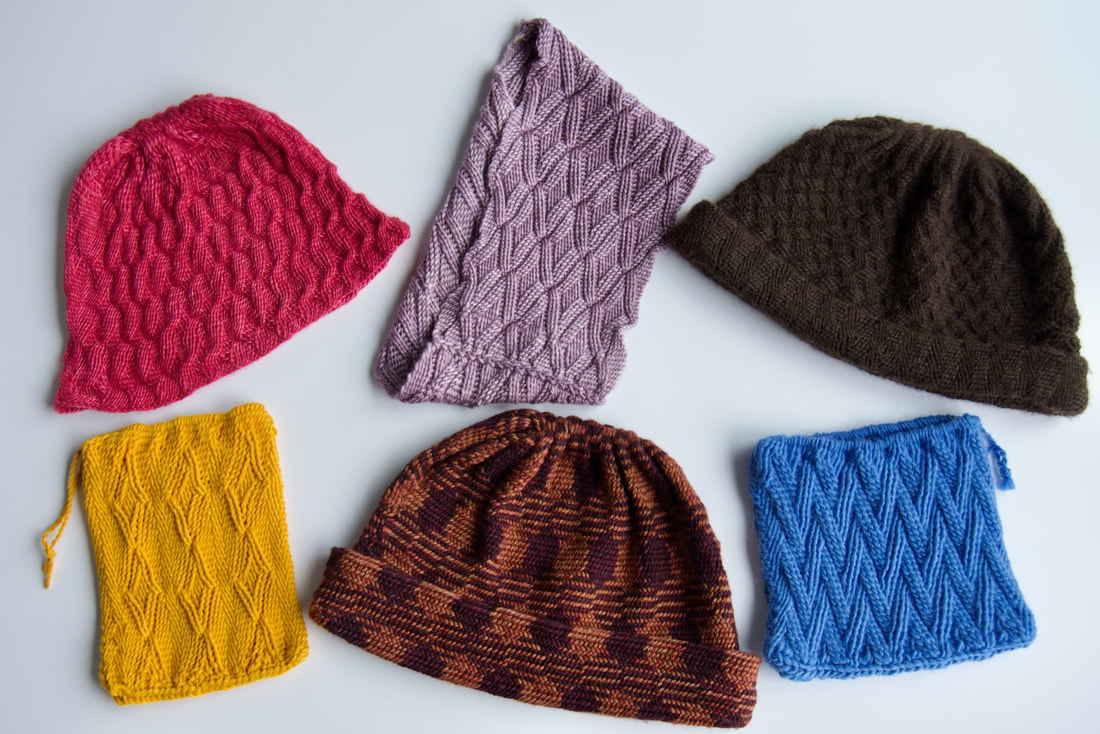
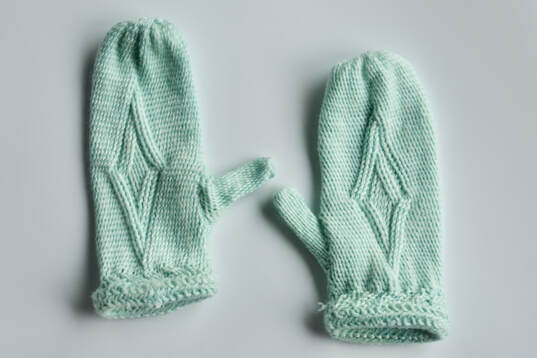
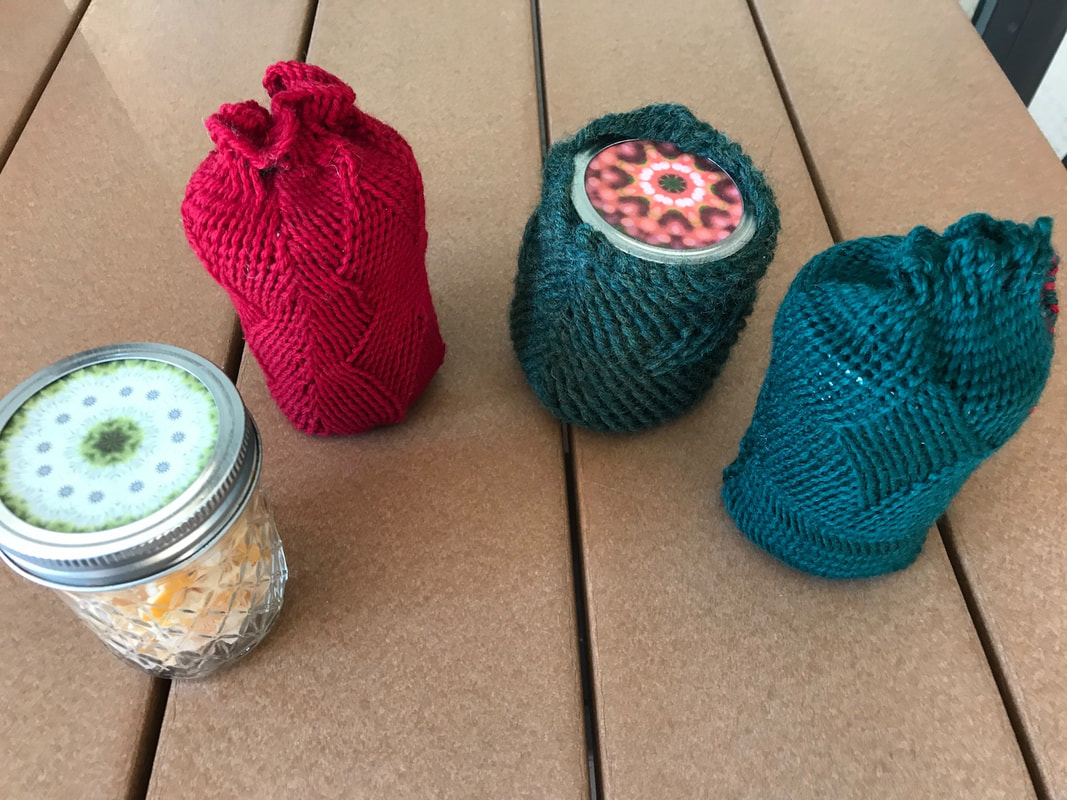
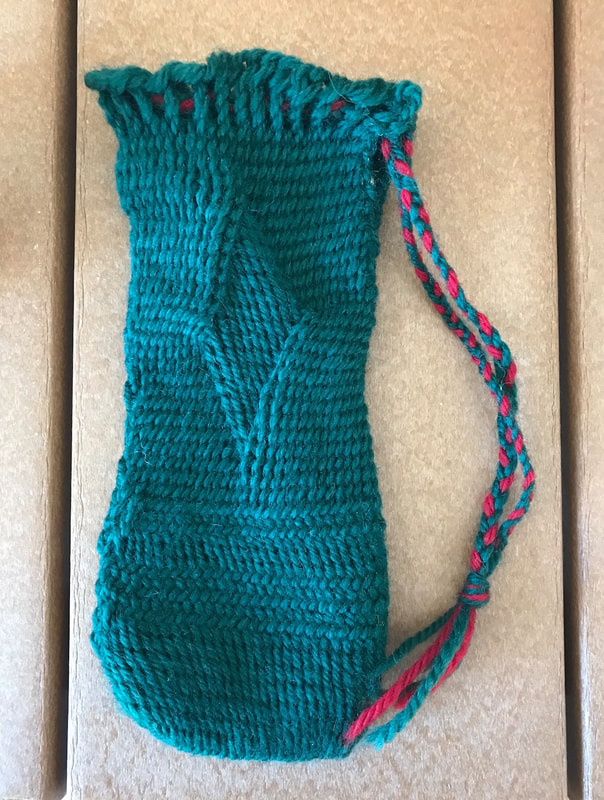
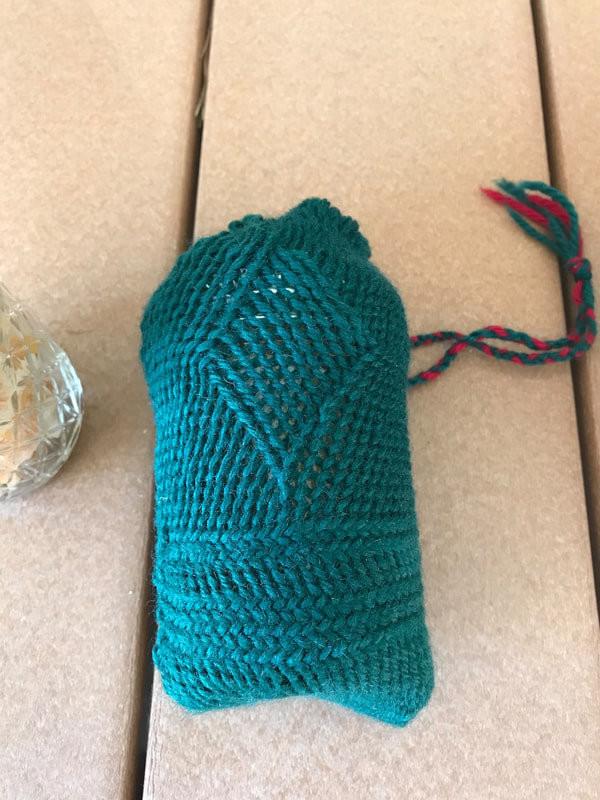
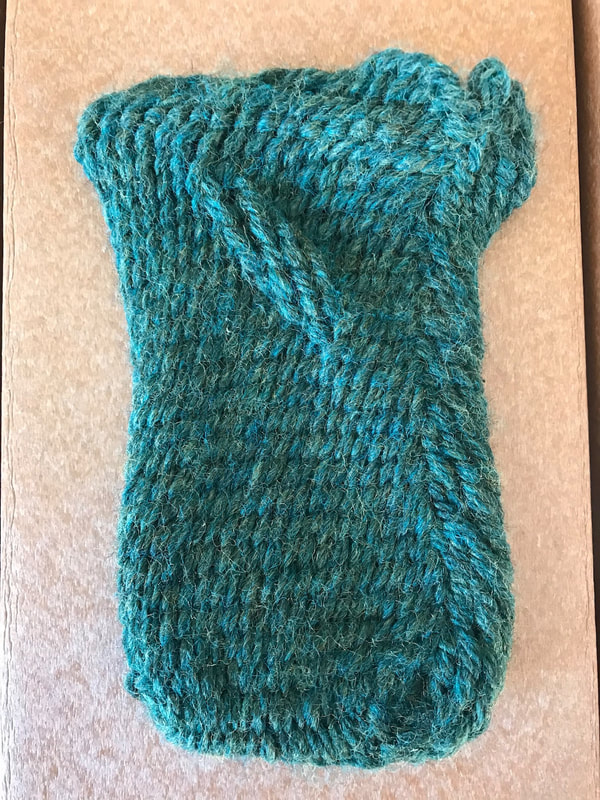
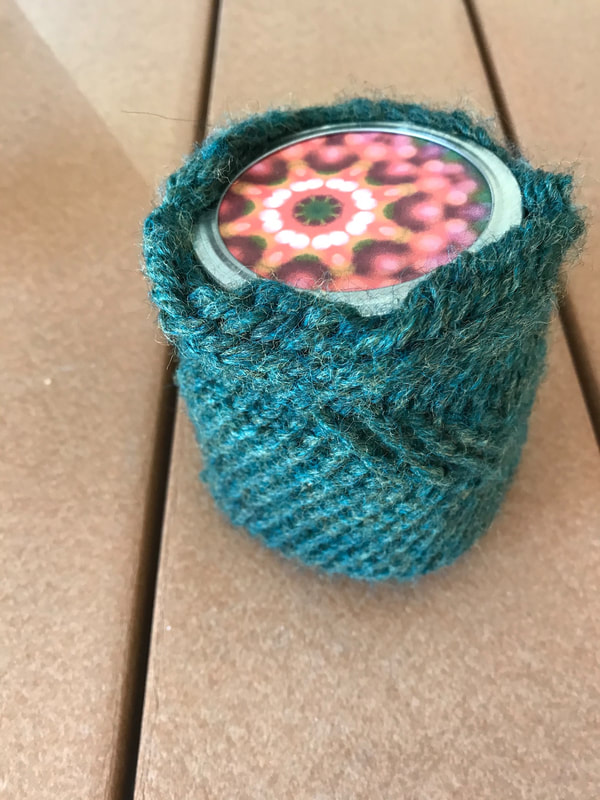
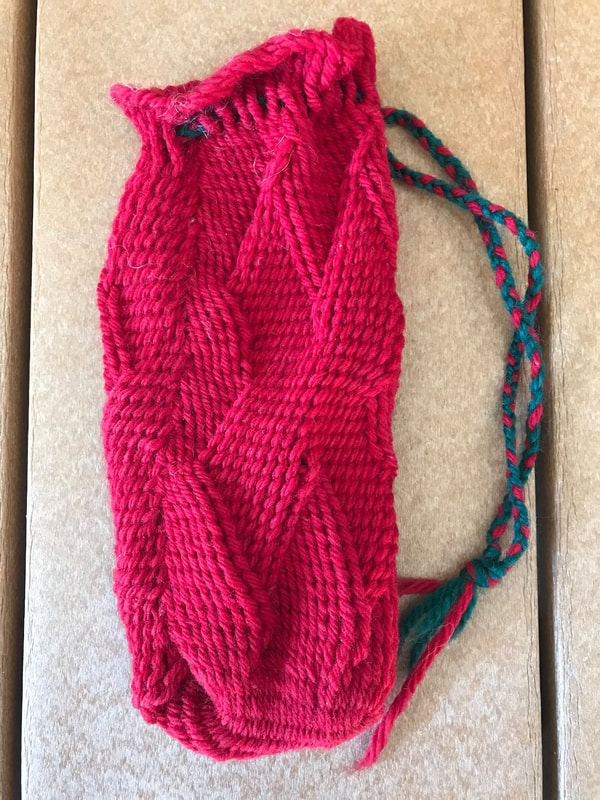
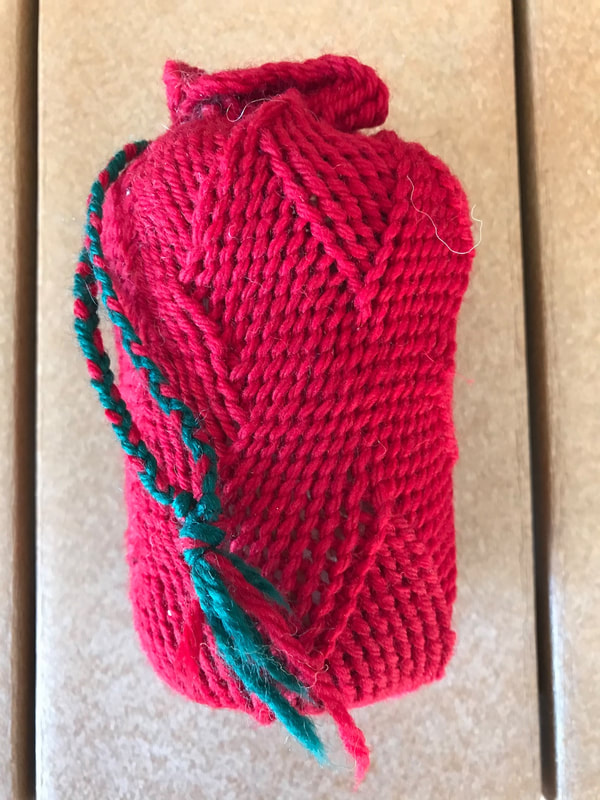
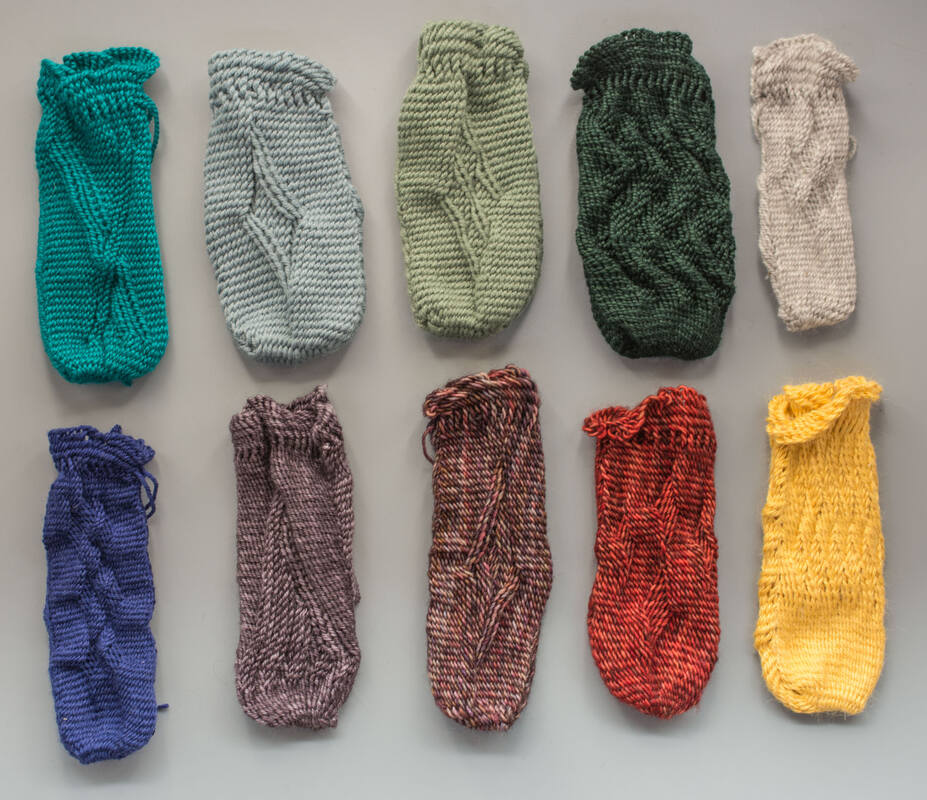
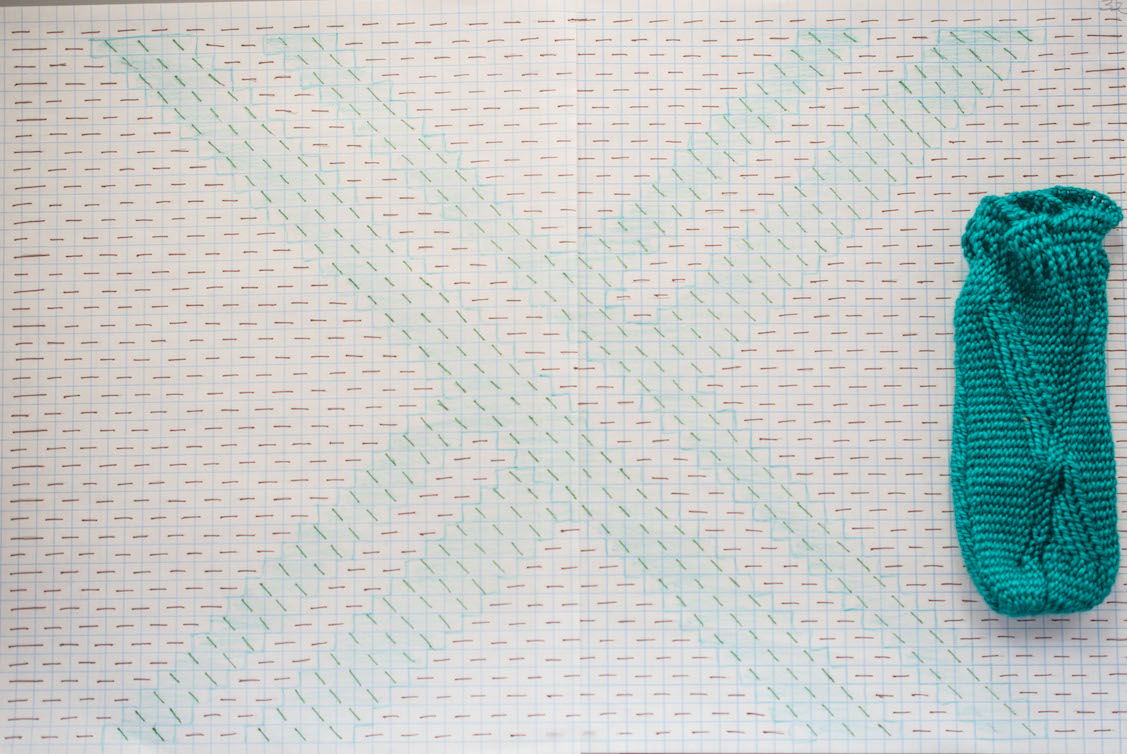
The sometimes subtle patterns created by changing the lean of the stitches have a special place in my heart. From my first attempts at making gift bags to my latest attempt at mittens, these S & Z motifs have been my go-to for adding patterns to sprang cloth. 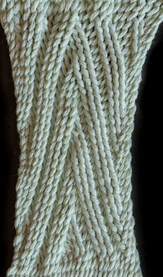 After my first random experiments with the gift bags, I tried a more methodical approach. I started with a single S stitch in a row of Z and increased the width of the S area one stitch each row, what I call opening the pattern. If the inner stitches change from S to Z every few rows, ridges form in the cloth. If I kept increasing those ridges become diagonals (photo at left). But, if I decreased the number of stitches in the middle, I could form diamonds within diamonds within diamonds, as in the mittens above. 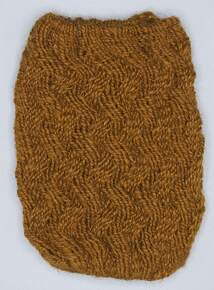 First basket weave success First basket weave success The more I created the more curious I became and the more complex my designs. So, when Carol James shared a basket weave motif during our monthly SprangAlong zoom call, I was ready for the challenge. Could I figure out the motif based on the photo alone? After a few tries, going back and forth between graph paper and sprang frame, with periodic confusion and generous use of the eraser, I replicated her motif!!! I was hooked. That’s when I reached out to Carol asking if she would take me on as an apprentice. She agreed, and shared with me photos of Coptic bonnets that made extensive use of S & Z motifs (such as this one, found in Egypt and dated to the 4th-8th centuries when the area was under Roman occupation). I explored images of these ancient sprang remains, finding diamonds within diamonds, stacked diamonds, basket weaves, vertical stripes, diagonals, and chevrons. So many possibilities! I wanted to replicate ALL the motifs and share what I learned. 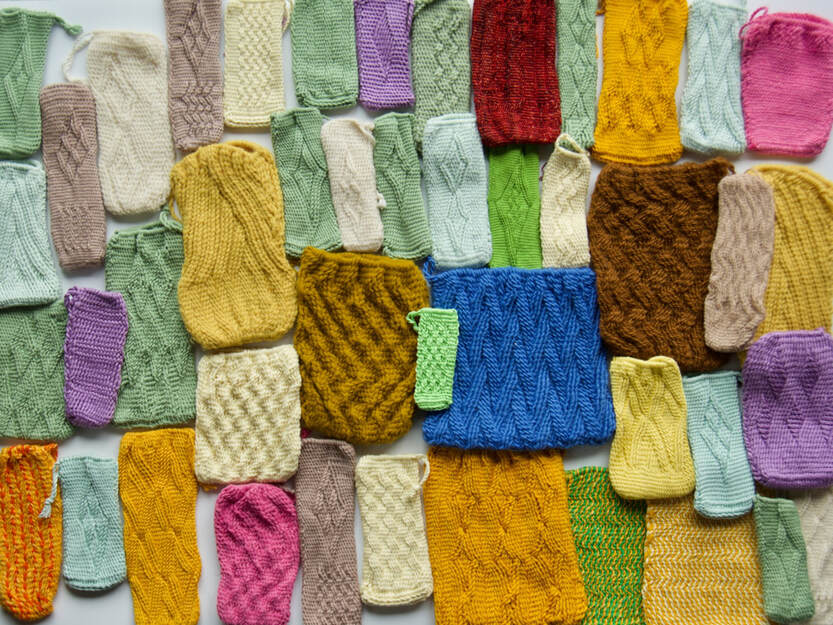 So I was honored when Carol asked if I would create the patterns for the Year of S & Z, the 2023 SprangAlong. YES! I now had a reason beyond myself to dive into these patterns. I learned how to read the cloth, create patterns in Carol’s notation, and use a spreadsheet to chart those patterns. I made samples, changed the patterns, and made more samples with different yarn. Then I talked with Carol and her daughter Claire and edited the patterns some more, fiddling with details until everything was just right. All the samples insisted on being sewn up along the sides with drawstrings added so they could be put to use. Here's a selection of the pouches made during my explorations with S & Z. Now I have 24 S & Z patterns ready to share in next year’s SprangAlong. In addition to the patterns, Carol provides instruction on creating hats, infinity scarves, and fingerless mittens using these patterns. She also includes a couple videos and instruction sheets on S & Z stitches.* And then there’s my favorite part, the monthly zoom calls where we get to talk sprang with folks from around the world. I'm looking forward to another year of sprang explorations and sharing my learnings with all of you. Feel free to comment on this post, reach out to me through the contact form, and/or consider joining the SprangAlong. It's in conversation that ideas build and deepen as we dive into this ancient fiber art. *The SprangAlong is NOT a class. If you are comfortable with basic sprang techniques and want a class in S&Z, check out Carol's January online class.
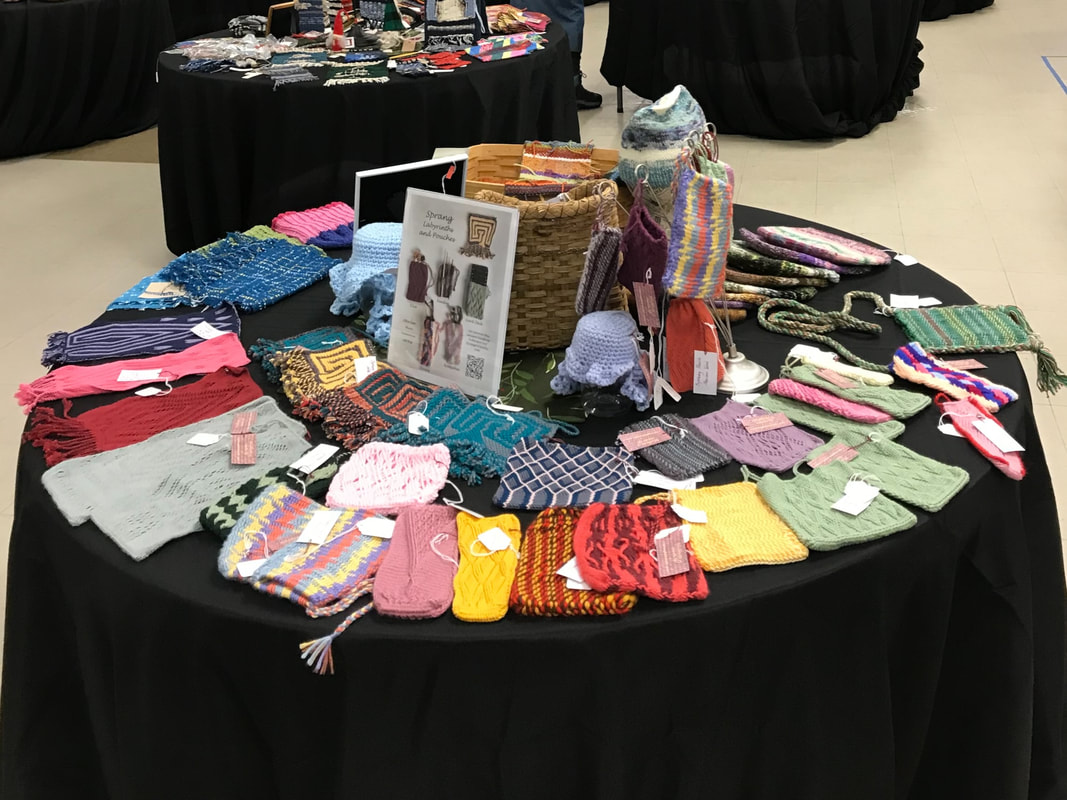
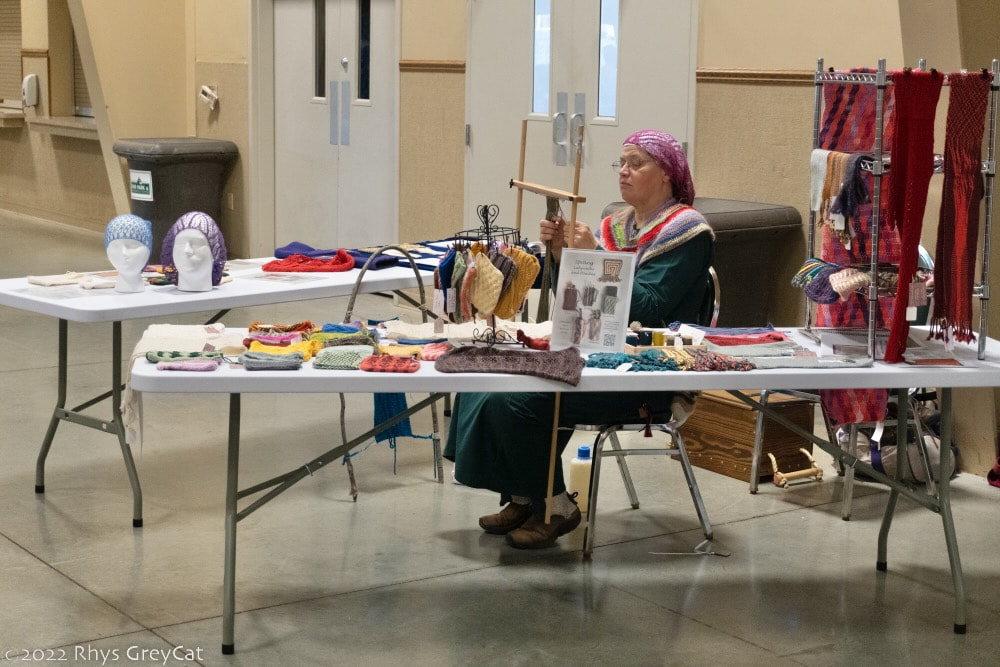
It’s been a busy couple months in Sprangland, with several opportunities to share and sell my work.
With the proceeds from the sales, I purchased a domain name and upgraded to a “Professional” website. You can now find me at sprangart.com.
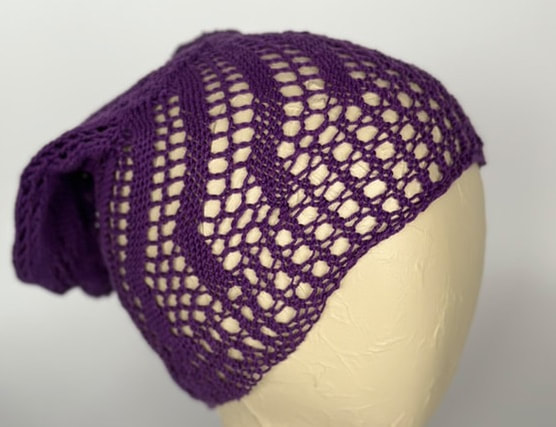
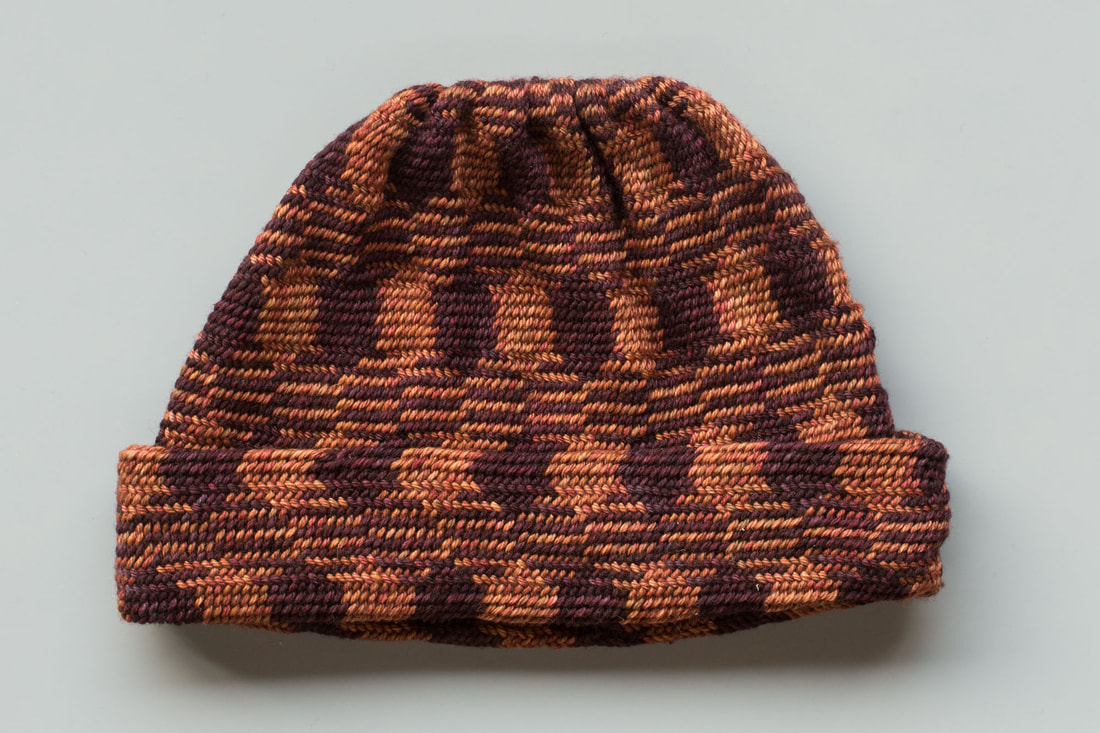
Other projects keeping me busy lately are a study of how to wear sprang on your head, and the final stages of creating a year of S & Z sprang patterns for Carol James’ 2023 Sprangalong. More on those to follow. I've found my happy place. I get to play with geometric puzzles and see the results as patterns in cloth. Initially I experimented with my fingers playing in the threads, always asking "what happens if...". As the designs became more complex I couldn't hold them in my head and finally relented and started writing the patterns down.
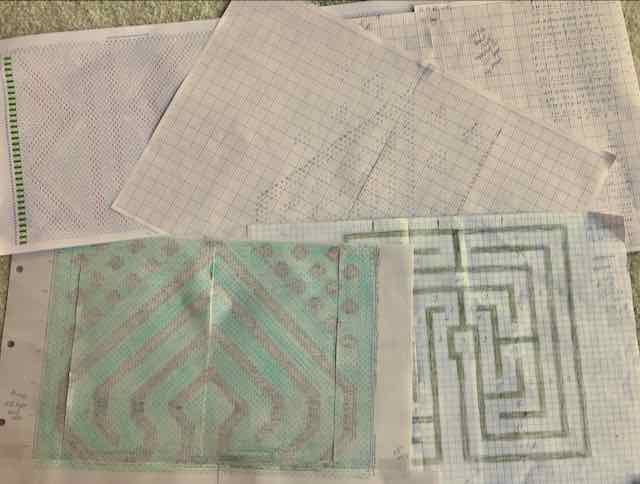
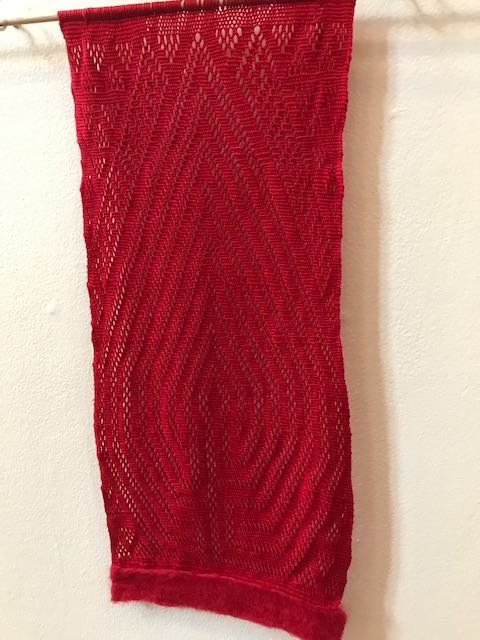
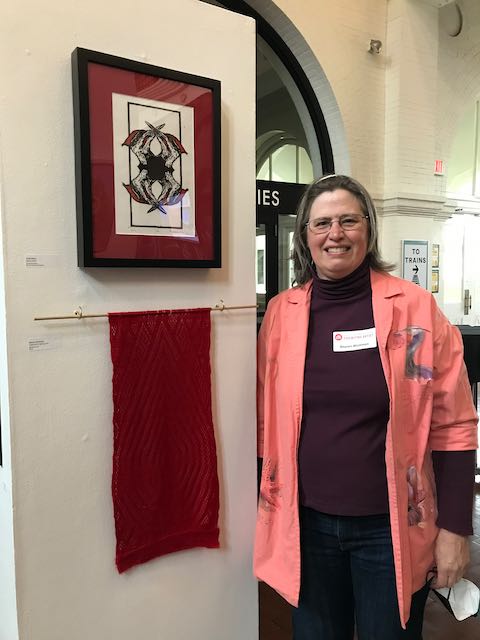
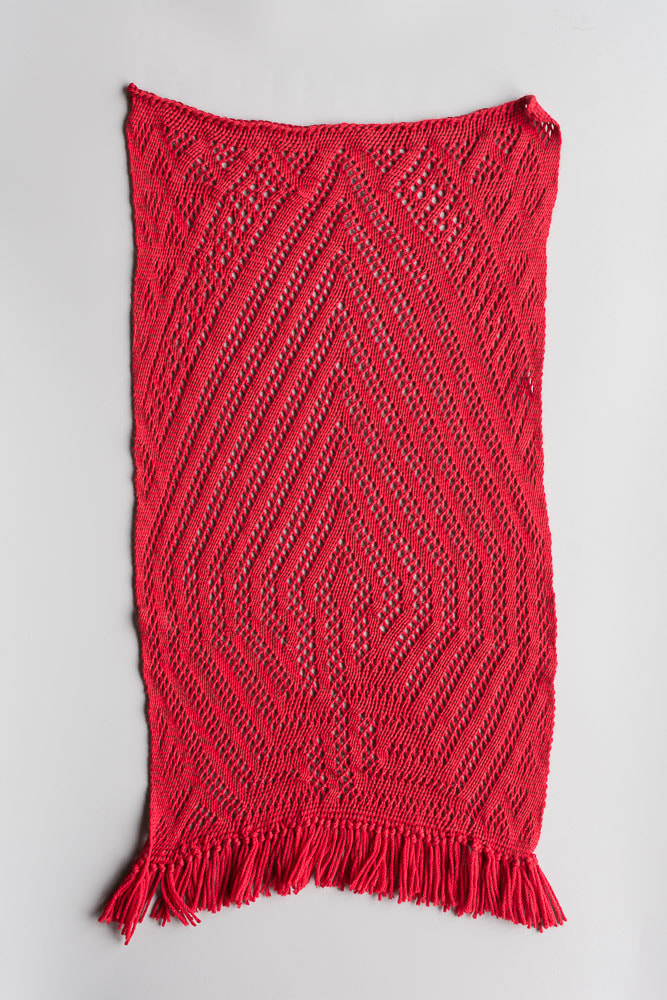
It's time to start sharing my work, both in-person and here online. My most recent lace labyrinth is part of the Duluth Art Institute's annual member show for the next month. Unfortunately the lighting is not very good and I'm still struggling with how to display lace, so the pattern does not show up as well as I'd like. Here's a better view of the pattern on the twin of the sample on display.* I've finally learned to modify a classic seven-circuit labyrinth from the middle outwards and am having great fun creating labyrinths in different shapes. You may notice that the bottoms of the two pieces are different. There's a story behind that... My original plan was to cut the cloth apart at the middle and tie fringes to secure the loose threads. This works well as long at there's enough string left at the middle; it's really hard to tie knots with less than three inches of thread to work with. When the last rows of the labyrinth pattern were complete I had only five inches of thread between the two labyrinths. Not enough for easy knot tying. While ruminating on my options, I attended a felting group at the Duluth Fiber Guild. I had heard that needle felting was a possible way to secure sprang ends, but had no experience with the technique. I received assurances from the experienced filters that the technique was easy and tools were minimal, and even came home with a scrap of wool roving the same color as my yarn. After watching a couple youtube videos and visiting the local yarn store to buy felting needles I was ready to felt. I cut the pieces apart: three inches on one side for tying knots, and two inches on the needle felting side. The felting worked so well that the felted piece found its way to the art show and I have used the technique on several other pieces. *Because I'm twisting threads that are secured at both ends, cloth forms both above and below the twists. So for every row of cloth I create at the top of the frame, there's a mirror of that row that gets pushed to the bottom. Often I keep the cloth whole to create scarves or bags, but this time I decided cut it apart.
|
Archives
February 2024
Categories
All
About SharonI am a sprang designer, creating new patterns in this ancient textile art form. |
|
|



 RSS Feed