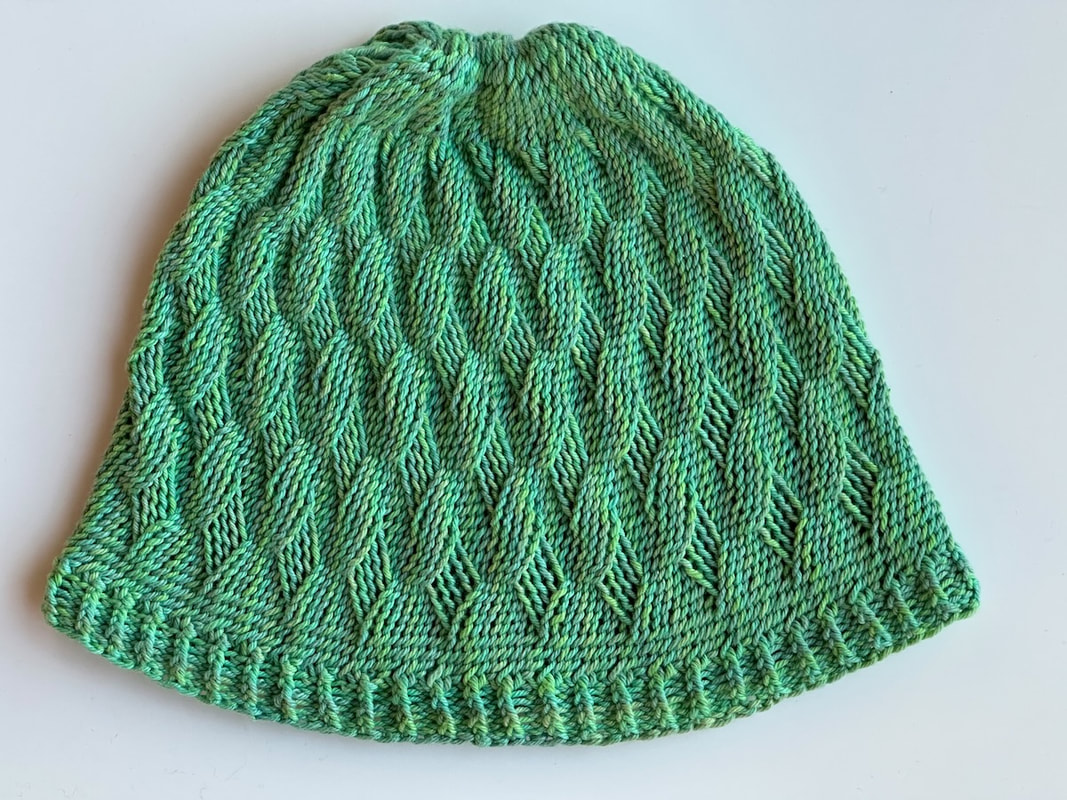
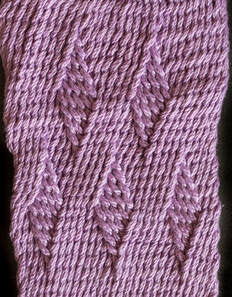
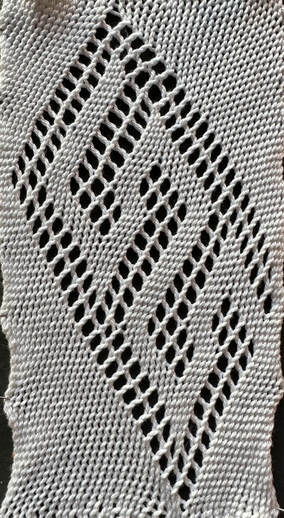
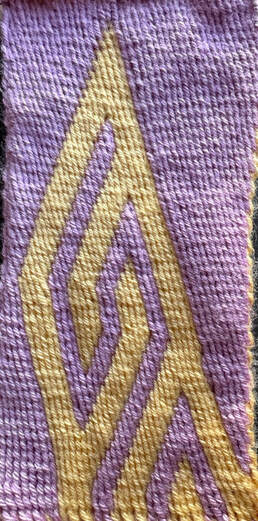
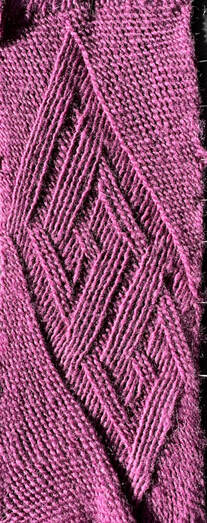
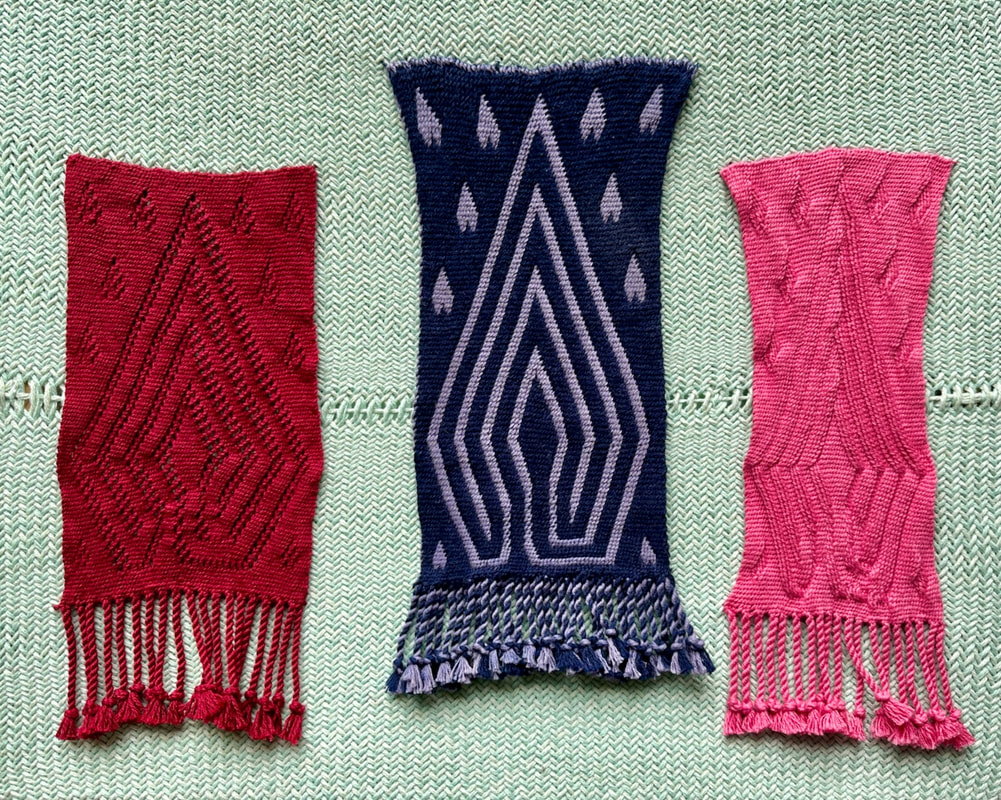
It’s all about the transition stitches. When we switch from S to Z stitches we work transition stitches on either two back threads or two front threads. When that transition occurs along a diagonal line in subsequent rows, one side of the cloth is higher and the other side is lower. In the final cloth, this 3D texture often overwhelms the direction of the stitches, so one sees this pattern of diagonals rather than the diamonds with a different lean. So any time we work diamonds, or any diagonals of this sort, in S&Z we will create textured cloth. This is one of places Carol James talks about, where sprang logic deviates from what we expect. (There IS a logical explanation to this, but when I tried putting it into words the complexity overwhelmed me. Maybe I’ll try again in a later post.) Here’s another example. I love this pattern from Carol’s James’ Sprang Lace Patterns and decided to try it as double cloth and in S&Z. The yellow in the double cloth clearly follows the lace, at least until I reached the middle and couldn't complete the last third of the design. But what happens in the S&Z? The areas that were lace have been replaced by opposite-leaning stitches but the winding pathway is almost invisible. Our eyes focus on the texture differences caused by the transitions between S and Z and we have to concentrate mightily to follow the path defined by the lean of the stitches. When going one direction that path forms a valley, and in another direction it forms a ridge. My brain has a hard time accepting that the ridge is a continuation of the valley. What makes this even MORE confusing is that sometimes our eyes shift so that what once appeared as low areas now look like high areas. This has been happening to me as I look at this S&Z image. At first glance it looks like a mess of diagonal lines with not much of a pattern. Then my brain shifts and the stitch directions dominate and OF COURSE it’s the same as the other patterns. Then, when I least expect it, the pattern goes back to its original mess. So maybe you're seeing first what I saw second. Maybe the pattern in S&Z does look like the other patterns and you have no idea what I'm talking about. That's OK, just more proof that we don't always see the same things when we look at the same picture. Such is life... One last example. I developed a pattern for a labyrinth in lace, double cloth, and S&Z. The three examples are shown together here. In the lace and double cloth it’s easy to follow the path, but in S&Z it takes great concentration to find the path as our eyes want to connect valley to valley and ridge to ridge.
0 Comments
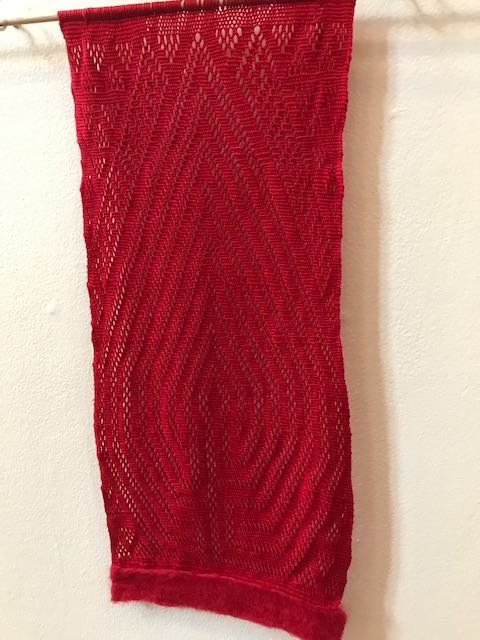
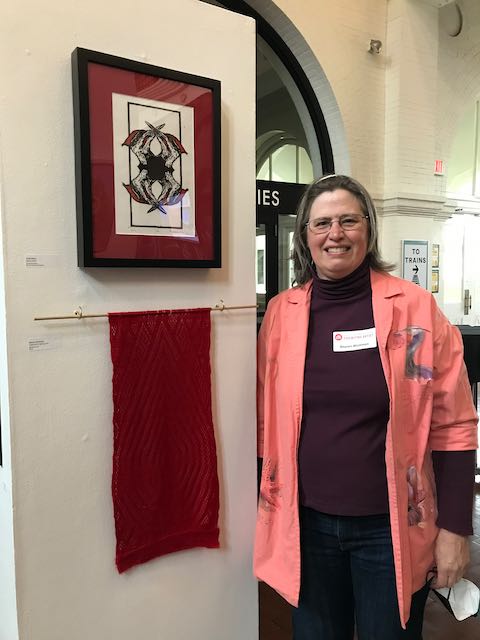
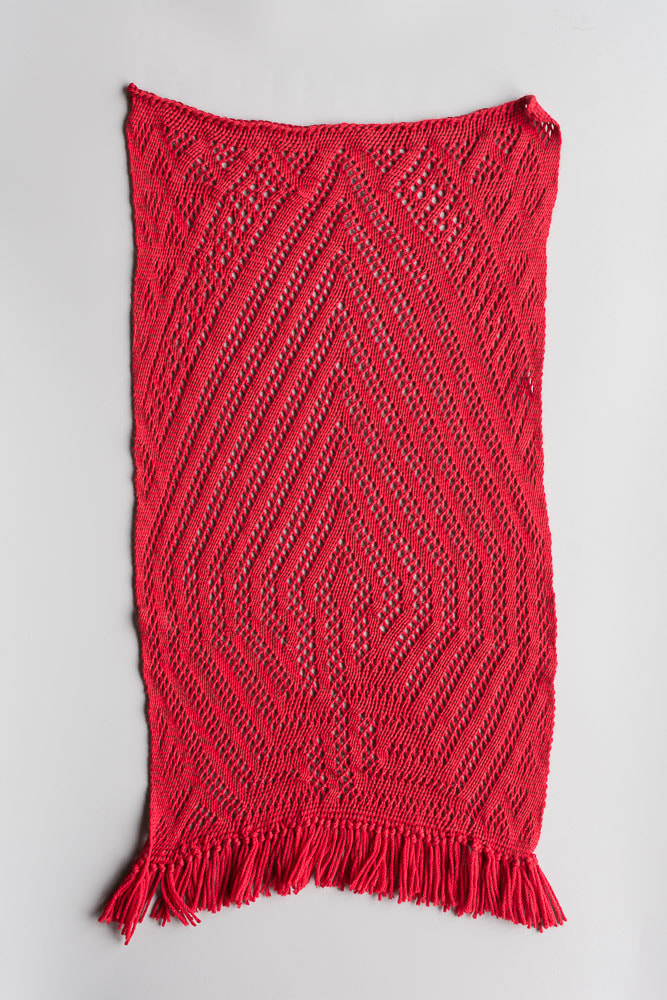
It's time to start sharing my work, both in-person and here online. My most recent lace labyrinth is part of the Duluth Art Institute's annual member show for the next month. Unfortunately the lighting is not very good and I'm still struggling with how to display lace, so the pattern does not show up as well as I'd like. Here's a better view of the pattern on the twin of the sample on display.* I've finally learned to modify a classic seven-circuit labyrinth from the middle outwards and am having great fun creating labyrinths in different shapes. You may notice that the bottoms of the two pieces are different. There's a story behind that... My original plan was to cut the cloth apart at the middle and tie fringes to secure the loose threads. This works well as long at there's enough string left at the middle; it's really hard to tie knots with less than three inches of thread to work with. When the last rows of the labyrinth pattern were complete I had only five inches of thread between the two labyrinths. Not enough for easy knot tying. While ruminating on my options, I attended a felting group at the Duluth Fiber Guild. I had heard that needle felting was a possible way to secure sprang ends, but had no experience with the technique. I received assurances from the experienced filters that the technique was easy and tools were minimal, and even came home with a scrap of wool roving the same color as my yarn. After watching a couple youtube videos and visiting the local yarn store to buy felting needles I was ready to felt. I cut the pieces apart: three inches on one side for tying knots, and two inches on the needle felting side. The felting worked so well that the felted piece found its way to the art show and I have used the technique on several other pieces. *Because I'm twisting threads that are secured at both ends, cloth forms both above and below the twists. So for every row of cloth I create at the top of the frame, there's a mirror of that row that gets pushed to the bottom. Often I keep the cloth whole to create scarves or bags, but this time I decided cut it apart.
|
Archives
February 2024
Categories
All
About SharonI am a sprang designer, creating new patterns in this ancient textile art form. |
|
|

 RSS Feed